Sometimes, you may find computers (typically those running unofficial custom Windows builds) where the Windows Update service has been removed. Let’s look at how to restore the Windows Update service if it has been removed (this guide is applicable to both Windows 11 and 10).
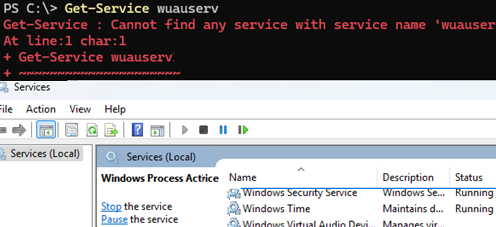
Open the services.msc MMC snap-in or run the following PowerShell command to verify that the Windows Update service is missing:
Get-Service wuauserv
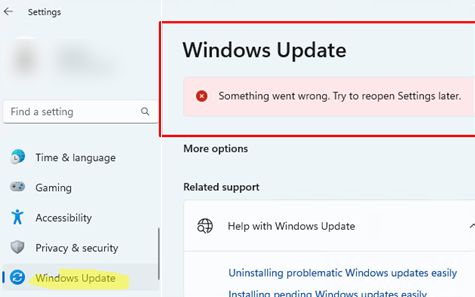
When you open the Windows Update section of the Settings app, you will see an error:
Something went wrong. Try reopen Settings later.
Without the wuauserv service, the computer won’t be able to receive automatic updates or manually install updates downloaded from the Microsoft Update Catalog.
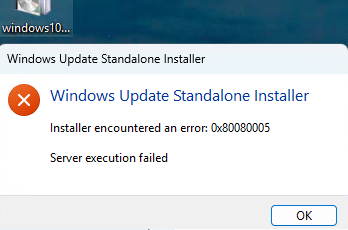
The following error appears when trying to install an MSU update via the Windows Update Standalone Installer:
Installer encountered an error: 0x80080005
Server execution failed
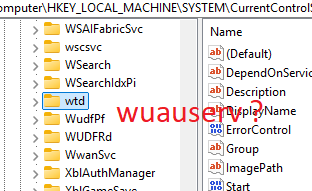
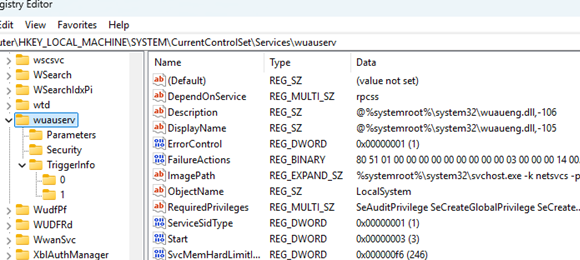
Open the regedit.exe and check the HKLM\SYSTEM\CurrentControlSet\Services for a Windows Update service key. In my case, the wuauserv service settings key is missing.
To restore the Windows Update service, import the HKEY_LOCAL_MACHINE\SYSTEM\CurrentControlSet\Services\wuauserv key with the default Wuauserv service settings from another computer. Or, you can download the REG file containing Windows Update service settings, suitable for both Windows 11 and Windows 10, from our website via the link wuauserv_settings_win11_original.zip
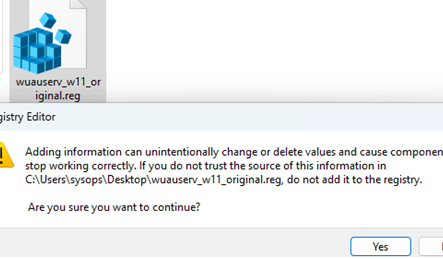
Extract the archive, then double-click the .REG file and confirm that you want to import the data into the registry.
Verify that the wuauserv service key has appeared in the registry.
Restart the computer and check the list of services to see if the Windows Update service appears.
By default, the Windows Update service (wuauserv) startup type in Windows 11 is “Manual (Trigger Start)“. Enabling automatic startup for it is not necessary.
Set-Service -Name wuauserv -StartupType Manual
Also, check that the following services required for Windows Update are configured to start automatically
# Update Orchestrator Service
 Set-Service -Name UsoSvc -StartupType Automatic -Status Running
 # Microsoft Update Health Service ( in Windows 10)
 Set-Service -Name uhssvc -StartupType AutomaticDelayedStart -Status Running
Try starting the service. In my case, I received an error:
Windows could not start the wuauserv service on Local Computer.
Error 126: The specified module could not be found.
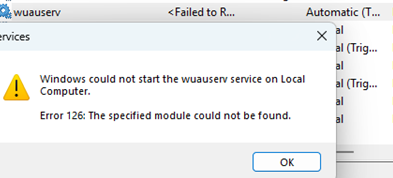
This error indicates that a service file is missing. In my case, the wuaueng.dll file was missing from the C:\Windows\System32 folder. This file is necessary to start the wuauserv. I had to copy it from another computer with the same Windows version
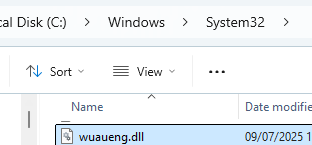
After this, the Windows Update service started successfully.
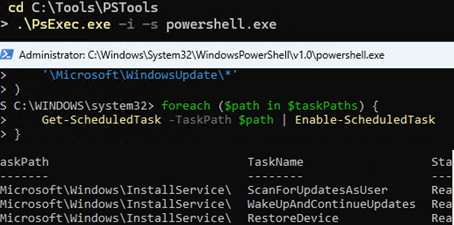
Ensure that all the tasks necessary for the Automatic Updates service to function properly are enabled in Task Scheduler. Enable the following scheduled tasks from a PowerShell.exe console running with NT-Authority\SYSTEM privileges (using the psexec.exe tool):
.\PsExec.exe -i -s powershell.exe
 $taskPaths = @(
 '\Microsoft\Windows\InstallService\*',
 '\Microsoft\Windows\UpdateOrchestrator\*',
 '\Microsoft\Windows\UpdateAssistant\*',
 '\Microsoft\Windows\WaaSMedic\*',
 '\Microsoft\Windows\WindowsUpdate\*',
 '\Microsoft\WindowsUpdate\*'
 )
 foreach ($path in $taskPaths) {
 Get-ScheduledTask -TaskPath $path | Enable-ScheduledTask
 }
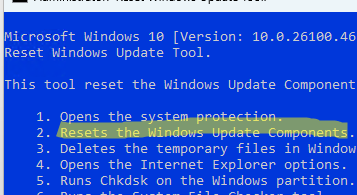
After restoring the Windows Update service, it is recommended to reset the wuauserv service settings to their default values using the script-wureset tool.
Check if Windows can now receive updates via Windows Update.
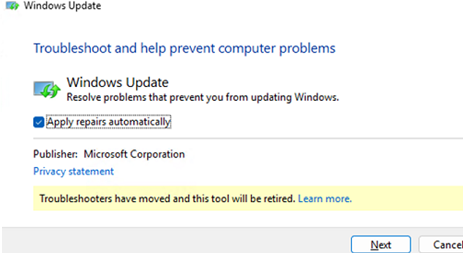
In some cases, you can use the built-in Windows Update Troubleshooter to resolve update-related issues. It can apply several common WUAUSERV fixes automatically. To run it:
msdt /id WindowsUpdateDiagnostic
Also, use the following commands to check and repair system files in the Windows component store:
Dism.exe /Online /Cleanup-Image /Restorehealth
sfc /scannow