The process of installing additional fonts in Windows is usually not complicated. However, there are some technical nuances about adding and removing new fonts in modern versions of Windows that you should be aware of.
Installing New Fonts in Windows
Windows supports TrueType (*.TTF files) and OpenType (*.OTF files) font types. There are many websites where you can download font archives, either for free or for a fee, in these formats (you can start with https://fonts.google.com/). Fonts are typically distributed in ZIP archives that must be extracted to a disk prior to installation.
To add a new font to Windows, right-click on the file in File Explorer and select Install. Selecting multiple TTF files allows you to install several fonts at once. 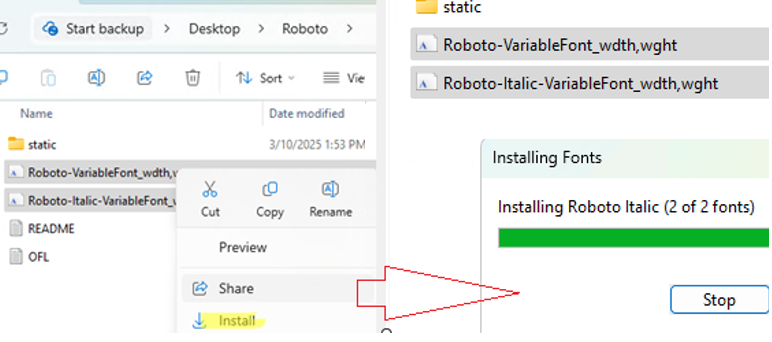
This method of installing fonts is available to non-admin users without elevated permissions. However, the font will be installed in the current user’s profile (%LOCALAPPDATA%\Microsoft\Windows\Fonts) and won’t be available to other users of the computer.
To make the new font available to all users, select Install for all users from the File Explorer context menu (local administrator rights are required).

In this case, the font files will be installed in the system folder, %WinDir%\Fonts.
There are several other ways to install fonts in Windows:
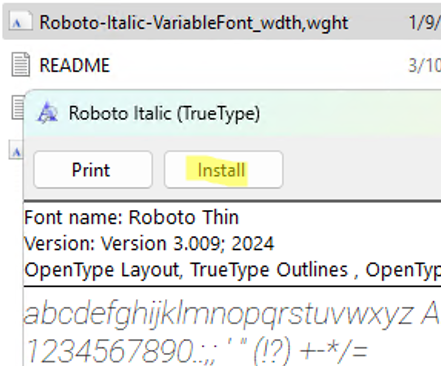
- Double-click the font file, then click Install in the font preview window.

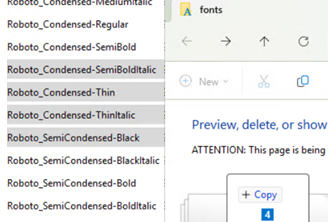
- Install the font by dragging and dropping the file into the
%windir%\fontsfolder.
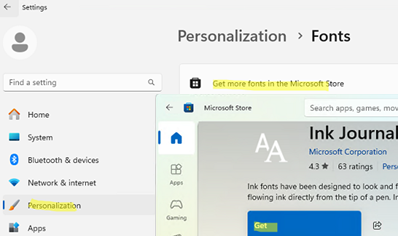
- Also, starting with Windows 10 version 1803, you can install fonts from the Microsoft Store. Go to Settings -> Personalization -> Fonts -> click Get more fonts in the Microsoft Store. Select the font you want from the store and click “Get.”

Copying the TTF files to the %systemroot%\Fonts folder is not enough to automate the installation of new fonts from the command prompt, batch file, or PowerShell script. In Windows, you must add a font’s description to the HKLM\Software\Microsoft\Windows NT\CurrentVersion\Fonts registry key to register it. Here is an example of a PowerShell script that automatically installs all fonts from a local folder:
$source= 'C:\distr\Fonts\'
 $fonts = dir $source *.ttf
 foreach ($font in $fonts)
 {
 Copy-Item $font.FullName "$env:SystemRoot\Fonts" -Force -Confirm:$false
 New-ItemProperty -Name $font.BaseName -Path "HKLM:\Software\Microsoft\Windows NT\CurrentVersion\Fonts" -PropertyType string -Value $font.Name
 }
How to Delete (Uninstall) Fonts in Windows
To remove a font, go to Settings -> Personalization -> Fonts (ms-settings:fonts). Find the font and select Uninstall from the menu. 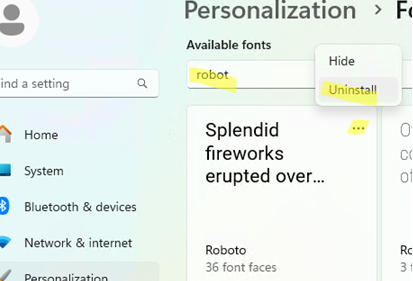
You can also delete the font in the File Explorer when browsing the %windir%\fonts directory.
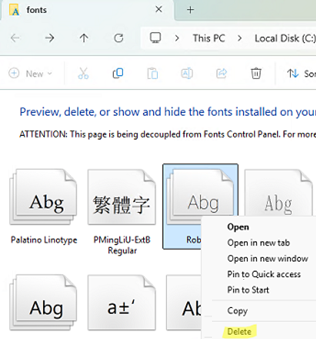
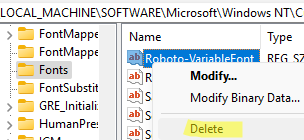
To remove a font manually, delete its file from the %windir%\Fonts folder and its entry from the HKLM\SOFTWARE\Microsoft\Windows NT\CurrentVersion\Fonts registry key.
If you’ve accidentally deleted some of the system Windows fonts, you can restore them.