Kiosk mode is a special Windows client lockdown feature used to run only pre-defined (allowlisted) apps in a full-screen mode. All other Windows functionality is locked and unavailable to users. The user cannot run unapproved apps or change system settings. This mode is typically used in self-service terminals and public computers operating in information kiosk mode (are used to show promotional slideshows, play promo videos, access the company’s information site, etc.). This step-by-step guide shows how to configure a Windows 11 device to run in kiosk mode.
There are two kiosk modes in Windows 11:
- Single-app kiosk mode – used to automatically launch a specific UWP app or the Edge browser in full-screen mode. The user cannot switch to the desktop or open any other app.
- Multi-app kiosk mode – the administrator defines a list of programs allowed to run. It is not available to start other applications or access the computer’s settings.
How to Setup a Single-App Kiosk Mode in Windows 11
By default, only one of the installed UWP apps (whether pre-installed or installed from the Microsoft Store) can run in Windows 11 Kiosk mode. Kiosk mode in Windows 11 is enabled from the Settings menu:
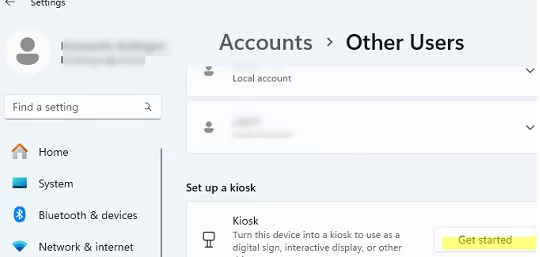
- Navigate to Settings -> Accounts -> Other Users
- Under the Kiosk section, click Get Started.

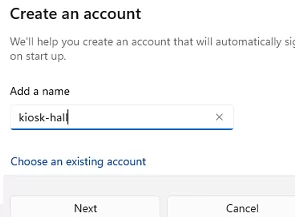
- Specify the limited user account name to be created for the automatic login in the Kiosk mode.
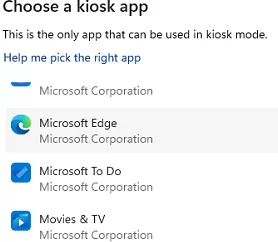
- The next step is to select the application to launch in Kiosk mode. It is only possible to select one of the UWP apps that are installed or some of the built-in classic apps. (such as the Microsoft Edge browser).
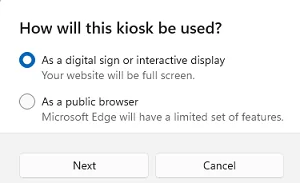
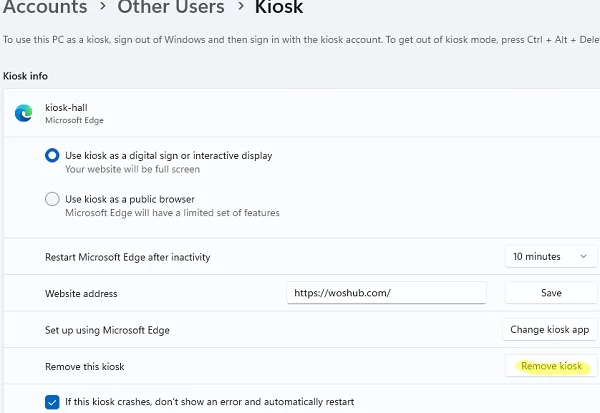
- The Edge browser can be launched in single-site access mode (
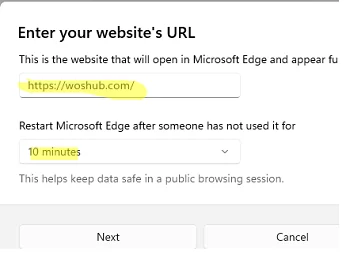
As a digit sign or interactive display) or in public computer mode with a browser (As a public browser). In the second case, the kiosk user can view any website. - In this example, we will configure Kiosk mode to access only one website. Enter the URL of the site and the period of inactivity after which the previous session should be reset (which clears session data, cookies, and browser history).
- Click Next -> Finish.
Restart the computer. Windows will automatically sign in with a kiosk user account and open the target website in full-screen browser mode. The functionality of the Edge browser is limited in this mode: the address bar is missing, settings, shortcut menus, toolbar, hotkeys, etc. are not available.
The user cannot launch another application, access the desktop, or open another website in the browser (however, Edge does not restrict the user from following any external links on the site.).
To exit Kiosk mode, press CTRL+ALT+DEL to switch to the Login Screen, and sign in to Windows with your normal account.

You can change the settings or turn off Kiosk mode completely in Settings using an account that has local administrator privileges.
Configuring Multi-App Kiosk Mode on Windows 11
In Windows 11, you can let users run more than one app in Kiosk mode. Multi-app Kiosk mode is a bit more complex to configure and involves using MDM (Intune) or PowerShell scripts.
Check out our GitHub repository for an example PowerShell script that configures Multi-App Kiosk mode for Windows 11 22H2 and 23H2. (https://github.com/maxbakhub/winposh/blob/main/WindowsDesktopManagement/enable-multi-app-kiosk-mode-win11-mdm-bridge.ps1). This script applies Windows kiosk mode settings specified in XML format.
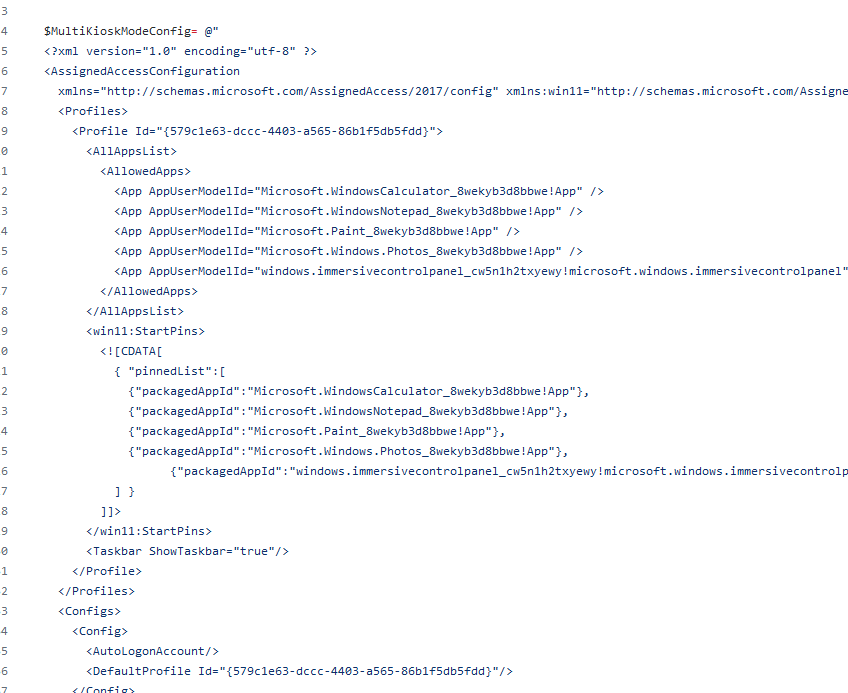
Key parameters::
- Profile Id – unique configuration identifier (can be generated with the New-Guid command)
- AllowedApps – list of UWP apps that are allowed to run in Kiosk mode
- windows.immersivecontrolpanel_cw5n1h2txyewy!microsoft.windows.immersivecontrolpanel – access the Settings panel. Use a simple GPO to hide or show sections (pages) of the Settings menu.
- StartPins – pin tiles of specified UWP apps to the Start menu
- ShowTaskbar – Show Windows taskbar
- AutoLogonAccount – Create a separate user account for Kiosk mode and log in automatically with that account.
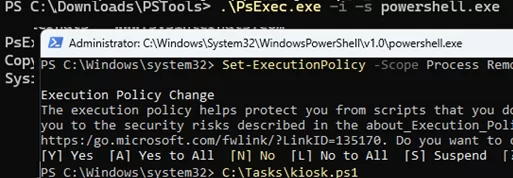
Save this PowerShell script to your computer. This PowerShell script changes the settings via the MDM Bridge WMI provider and must be run with LocalSystem permissions. Run the powershell.exe console as SYSTEM using the PsExec tool:
Psexec.exe -i -s powershell.exe
Allow PowerShell scripts to be run in the current session:
Set-ExecutionPolicy -scope Process RemoteSigned
Run the setup script:
C:\ps\enable-multi-app-kiosk-mode-win11-mdm-bridge.ps1
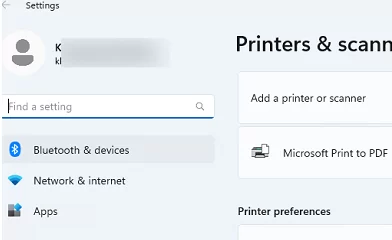
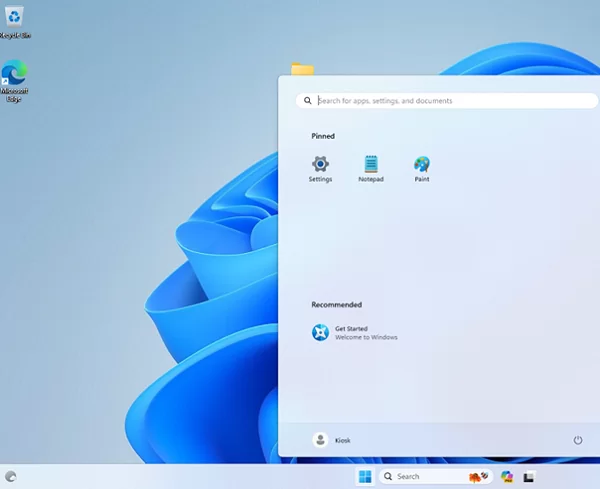
To apply the changes, restart the computer. The next time the machine boots, you will automatically be logged in as KioskUser0. Windows starts in tablet mode and displays tiles for the apps you specify.
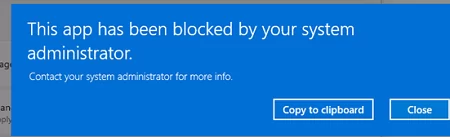
The restricted kiosk mode user can only run the applications that are specified in the XML file. If you try to run another UWP or Classic app, you’ll see an AppLocker message:
This app has been blocked by your system administrator.
To clear and disable the current Windows 11 kiosk mode configuration, run the following commands:
$obj = Get-CimInstance -Namespace "root\cimv2\mdm\dmmap" -ClassName "MDM_AssignedAccess"
 $obj.Configuration = $NULL
 Set-CimInstance -CimInstance $obj