Starting with build 1703, Windows 10 fully supports USB flash drives and SD cards with multiple partitions. In previous versions of Windows, only the first partition on the flash drive was displayed for removable drives.
How to Set Up Multiple Partitions on a USB Drive on Windows 10
Let’s create several partitions on a USB drive on a computer running Windows 10.
- Connect the USB stick to the computer;
- Open the Disk Management (
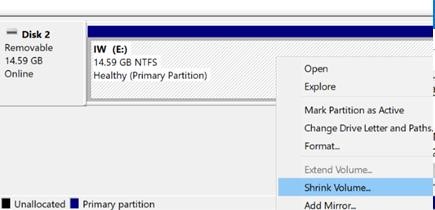
diskmgmt.msc) console; - In this example, it is a 16GB USB flash drive with a partition that takes up all the available space. To create an additional partition, you must first free up space by reducing the size of the first partition;
- Right-click the partition on the USB drive and select Shrink Volume;

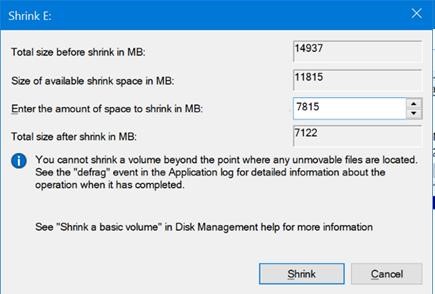
- Specify the amount of free space that will remain after the shrinking of the main partition and click Shrink. For example, we will create two partitions of 7GB and 8GB on a 15GB USB drive;

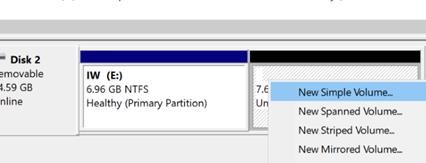
- Right-click on the unallocated space and select New Simple Volume to create an additional partition;

- Assign a drive letter, volume label and set up the file system for the new USB partition (format the second partition as either a FAT32 or NTFS file system).

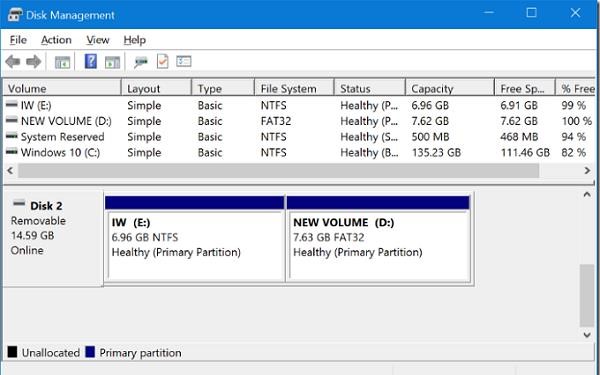
Both partitions on the USB flash drive should appear in File Explorer and be available for use.
Partitioning USB Drive in Windows Using DiskPart
The DiskPart console command allows you to create multiple partitions on a USB drive. In this example, we are going to create two partitions: the first one with the FAT32 and the second one with the NTFS file system.
Open an elevated command prompt and run the DiskPart command. Run the following commands in sequence in the Diskpart context:
list disk
 select <specify the disk number assigned to the USB drive on your computer>
 clean
 create partition primary size=3000
 format quick fs=fat32 label="FirstFAT32Partition"
 assign letter=J
 active
 create partition primary
 format fs=ntfs quick label="Data(NTFS)"
 assign letter=K
 list vol
 exit
Create Multiple Partitions on USB Drive Using PowerShell
You can use PowerShell cmdlets from the built-in Storage module to create multiple partitions on a USB flash drive.
Get a USB flash drive’s disk ID:
Get-Disk
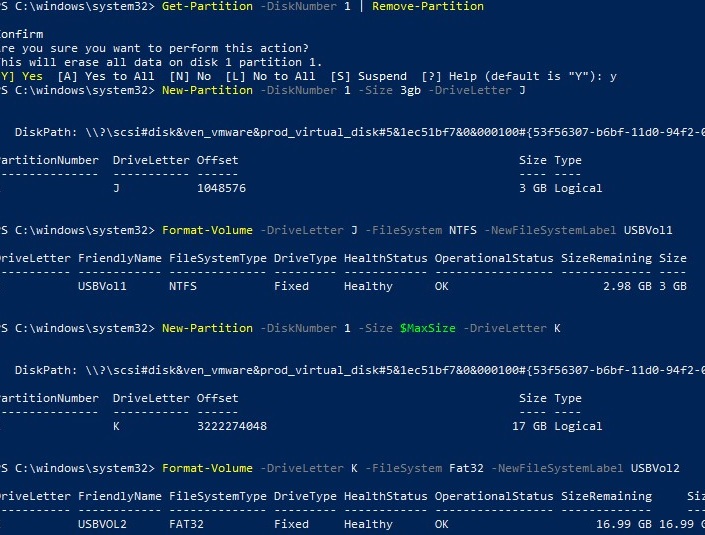
The following command deletes the existing partition on the USB drive:
Get-Partition –DiskNumber 1 | Remove-Partition
Create two logical partitions on a USB flash drive
New-Partition –DiskNumber 1 -Size 4gb -DriveLetter J
 Format-Volume -DriveLetter J -FileSystem NTFS -NewFileSystemLabel USBVol1
 New-Partition –DiskNumber 1 –UseMaximumSize -DriveLetter K
 Format-Volume -DriveLetter K -FileSystem Fat32 -NewFileSystemLabel USBVol2
A USB drive with multiple partitions can be used in multi-boot scenarios with different operating systems, to create bootable USB sticks for UEFI computers with the FAT32 file system if you need to store files larger than 4 GB on the flash drive (this is a limitation of the FAT32 file system), etc.
2 comments
Very helpful article. Well explained and straight to the point.
Thank you very much. i have successfully made partition in FAT32 in my USB drive.